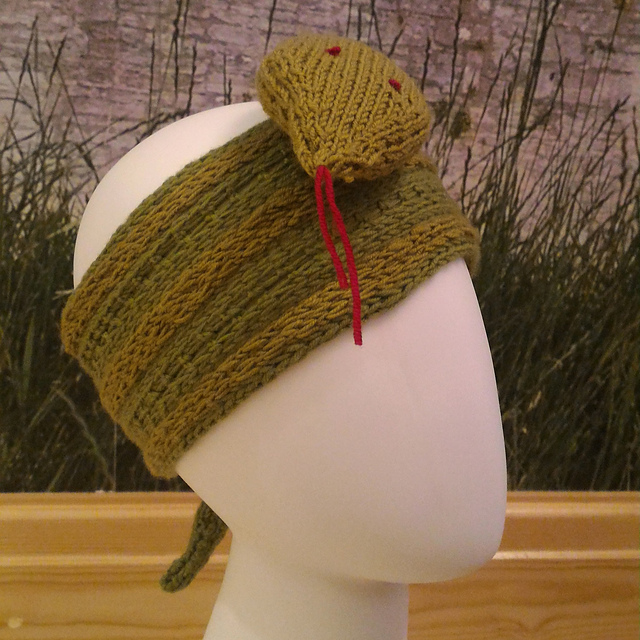
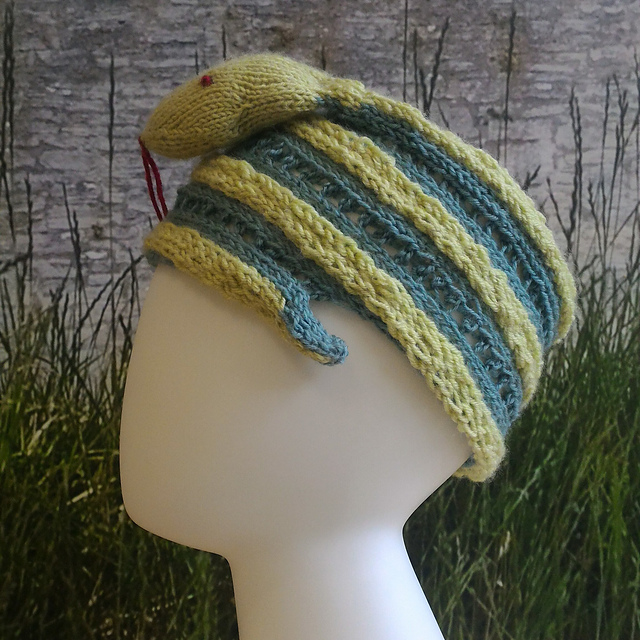
Back into knitting after being asked to knit couple of snake hats – of course ended up by my younger one asking for a refresh of hers too 😀
Have to admit I quite liked doing them again – although it was a bit of exercise in yarn stretch capability. First one ended up a bit on the small side and I am hoping the second one is better. I tried it on a 5y old and 7y old and was really tempted to ask a random mum with a smaller child can I try it out? Given up on that one in favour of common sense 😉
It’s been a busy year – or almost 2. After packing (well most of) the house up, demolishing half, monitoring (i’m not even call it managing – it was fairly close to babysitting) builders and plumbers and electricians etc., then moving back in and finally unpacking, we have now reached perpetual stage of house decorating. Yey… (note the lack of enthusiasm).
I mean, it is fun – when you get a blank slate of a room and you have a purpose of what you want it to be and ideally some kind of a budget. Otherwise – a bit less fun. I have been in never ending clear out loop. And I can’t really see that I’ve even made a dent 😀 And each room already has furniture in and it’s difficult to even create that blank slate of a room – when we are living in other rooms and my other half goes and buys pieces of furniture before we have managed to remove the old ones. Thanks babe – really helpful.
Moaning aside – I have managed to unearth few bags of craft stuff just this week – and I completely forgot about them! It was random knits during the house build stage that I was planning to give away or sell but never got around to taking a pic for the project (yes, I’m a bit on that side) and they got lost in the depths of my mental TO-DO list.
So here are a few – weather you want to see them or not 😀
Featuring Hallie the Head and our diner’s backdrop castle.
Whenever there is a ribbon, a button, bead, or pretty much anything that looks like it can be reused, in my house it ends up in a craft bucket. You might have a drawer or a shoebox or a tin your gran gave you? Anything can be on there, a little treasure trove.
We visited Nana yesterday and she contributed bits and pieces she saved, asking can they be used. Oh yes they can! In minutes we managed to upgrade accessories stash with new choker necklaces and they took them out for a stroll 🙂
Few ribbons, some beads and a bit of sewing skills. Nothing more. Absolutely priceless memory created 🙂
I got those paper bags (check previous post) and I have decided that I’m NOT spending any money for getting the stamps – was mulling a bit what to do (as only letter stamps I have are tiny) and found an idea amongst google search results – create your own by using foam sheets. Actually, this was the first USEFUL use of foam sheets imho. I had to dig around our craft supply boxes and managed to find few scraps (pheww!) – I distinctly remember gifting few unopened packs in last years’ TEECH shoebox appeal as I thought little ones’ might like it, mine are getting to be “grown up” these days 😀
[if you can, please support your local shoebox appeal – it is a great way to be involved – boxes are usually packed for young and the old and you will put a smile on someone’s face]
Anyway, back to the topic. I’ve created the letters and used a clear acrylic block (with a dab of washable glue) to stamp them. Love how it’s looking up! So far we stamped the bottom row and girls are loving the fact that they’re making the party bags!
I do not do design on a daily basis. It’s more of a yearly thing. Or even less frequent. And although Gimp and me have been acquaintances for a long time, we have never moved to the friends zone. And every time I have to do it I want to bang my head on the wall for not writing it up last time. Or any time.
So here it is – a very brief, very basic, and quite specific tutorial – how to do a birthday invite in Gimp. Good luck. I know I will need it.
Step 1. Download Gimp if you haven’t already. It is neat and free and available on https://www.gimp.org/downloads/ . It should be smart enough to tell you which version you need. Most likely you will know do you use iOs (there might be an apple on your computer), Windows (ok, you can guess what that logo is) or Unix – in which case you know your way around computers well enough.
Step 2. Open and create new file. You will be asked the size – and it means the size in pixels, but you can change that to millimeters or anything else. I want to make my life easier so I can print multiple invites on one page – I’ll stick to the cinema ticket style as it prints several per A4 page. Lets say 180mm x 70mm.
I am putting the background black so all the wordings go in neon. Easy-peasy. Pick a bucket style icon from the tool box and (choosing the colour from the picker) click on the background. And my invite is now pitch black. Stating the obvious.
To add letters, choose the letter A icon from the toolbox. You can use any of the fonts on your computer – if you want to take a look and get few more, there are loads available for free in places such as http://www.dafont.com/ (I used the one called rollergirls).
To add a zigzag background, I used this tutorial to create it – no point in rewriting something that was done right.
But I wanted spots and stripes and skates. Well pretty much everything 🙂 Here are some more tutorials – luckily she also does polka dots 😉
Also, I’ve found a blog with bracket frames to download which ended up being my frame for the invite details and a nice light up skate picture – here it is, 2h later:
Not yet perfect, but getting there – hurting my eyes enough to satisfy the audience.
And I have to admit to a bit of a internal joke earlier. In Croatian (my native) ‘da’ means yes. Now read the title knowing that 😉
Welcome to the roller skate birthday party preparations. Let the games begin.
Now, initially, there were rumors that the little wonderfuls would like Wizard of Oz and Charlie and the Chocolate Factory parties, but that went down the drain on Monday. Luckily I hadn’t had time to go nuts but I’ve found sooo many ideas that my brain was already buzzing. Oh well – perhaps we do that next year, who knows. Onwards and upwards and lets get into ’80s feel as neon and skates are screaming for large hair-dos!!
OK, so plus side is – it has to be out there (we can’t fit in the house) and it has to be indoors (as outside is either wet or freezing) – I was maniacally googling and calling around on Tuesday morning and voila – there was a space in a sport centre nearby and they had the date that is perfect (and a Saturday, which makes my life soo much easier). Now, I got to choose between 12 o’clock slot and 3 o’clock slot – now that was a dilemma – earlier slot means there should be something children can have for lunch (even if reality is that they will skip straight to sweets and snacks) and the later one is the one where by the end of it we will all be ready to collapse.
Risking the early morning panic – and my manic behaviour – I’ve picked the 12 one. Only time will tell how bad did I do 😀
Now, back to work – I have some party invitations to whizz up – last years’ movie tickets went really well with the audience so I’m thinking of what to create to keep the standard going 😉 I loved little beach huts we did this summer (just tried to link them and then I realised – as usual – I forgot to write that post, so here they are)
summer party invites
And now I’m crawling through the google image results for that just perfect template/image/something magical I can reuse and tweak into the perfect invites. Not there yet.
On the other hand, I’ve found neon leg warmers that will be our party favours, printable cake toppers that I’ll turn into stickers and mini disco balls for the cake they ordered. That will require blog post on it’s own – to be continued…
I’ve heard a rumor that my nephew has a thing for superheroes and avengers. Now he’s almost 6 and changing his mind quite often so I’m hoping that this will keep in trend for few weeks more – at least until I get to deliver the Christmas knit!
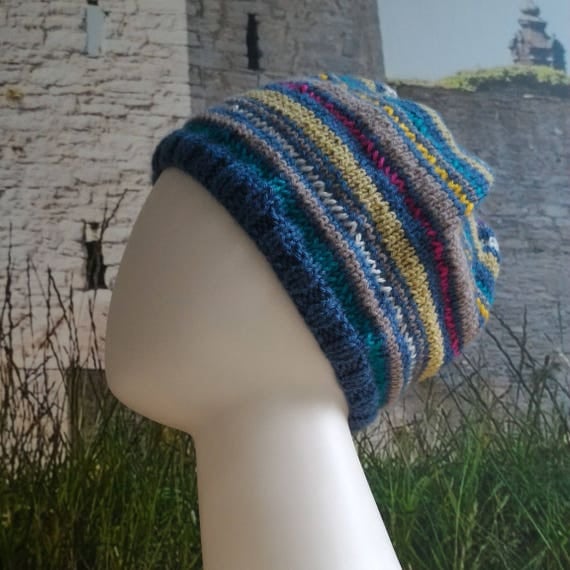
I looked around my favourite pattern inspiration and neverending source of things to do – the Ravelry portal. I haven’t managed to spot anything exactly to what I wanted – in the weight and the size I wanted so it was time to improvise. Here is the result:
So here is a quick writeup of what I’ve done:
CO 106 with 3.75 needles
r1-2: knit
r3-4: purl
r5-7: knit
r8: bauble row on every 8th
r9-10: knit
r11-12: purl
r13: knit
r14: purl
swap to silver (double stranded)
Knit until piece measures 5.5in and then decrease
* k6, k2tog *
knit
* k5, k2tog *
knit
* k4, k2tog *
knit
* k3, k2tog *
knit
* k2, k2tog *
* k2tog *
I did the tiniest i-cord on the top for the extra helmet look.
Now I’m a lazy one and can’t be bothered to do any more stitching than absolutely needed so I’ve picked up the wings just off the golden rim.
pick up 22 stitches
rA: *k2, p2*, turn work
rB: *p2, k2*, turn work
alternate rows A and B until piece is long enough and you are ready to start decreasing the wings (roughly when your decreases start on the hat), finish with row A
then repeat this two rows until you cast off all of them:
rC:(in pattern) cast off 2, knit in k2, p2 pattern to end, turn
rD: knit in k2,p2 pattern to end, turn
Repeat the same for the other wing (make sure you cast off/tilt your wings in the opposite direction!).
If easier for you, you can always knit your wings separately and then stitch them on.
Do you remember the add where a father builds a house while his child is building something undefined? (if you don’t, you can see it here)
I felt like that more than once 😀
This year, I made a mistake of giving children a toy shop catalogue so they can pick 10 things they like in it. I have to say, they are very creative in counting to 10.. Big mistake.
Although I was feeling very proud that my children are quite aware that ads sometimes oversell the toy and quite happy by some of their choices, I felt a bit down that they didn’t even stop for a second to think how much a certain toy cost. I’m not saying that they should be worried or thinking about it, but at the same time, how do we (as parents) start gently building that awareness how much things we want cost and should we even consider asking for it just because we want it?
Half of one list contained LEGO items – and one of the things wished was a Friends Hotel. I do have to admit, they cought me in a bad moment – just during the past few weeks I spent time sorting out their advent calendar (my previous post). So I knew they are getting more bricks. And I also tidied up their existing collection. So I knew they have a LOT of bricks. Yes, the bricks they had might be different shapes and colours – but that is the beauty of LEGO, there is more than one way to do it.
I presented them a challenge – and said no to more buying – instead we are going to try to build it. And so we did. About a 4 evenings later, we got it done.
It is in dire need of a paint job. It contains maybe 20% of original intended coloured bricks and has most of intended features (with twirly door and elevator/lift/whatever you want to call it included). It took about 20h to build. It contains bricks spanning over 35 years. And it is our version of it. We love it!
Yesterday, I had to dig up instructions for a hair dressers. On the page two my child said “I know where’s that brick!” and went straight for the hotel. I almost went ballistic 😀
(as couple of boxes with unused blocks weren’t even considered)
Earlier this moth I was considering getting LEGO advent calendar again this year. We.. OK, I .. got a couple last year for ahmm children to enjoy 😉
This year, it looked very much alike last year’s ones so I decided to improvise – with a little help of eBay I bought some sets they didn’t have (I might have spent a tiddly bit more then a real advent calendar would cost – I did get a lot more bricks) – and if you can control yourself better than I do, you will actually spend less.
Then I placed an order with my mum to make me some advent bags (if you need some, please take a look here) which I expect we will use for a considerable amount of future years and MAGIC!
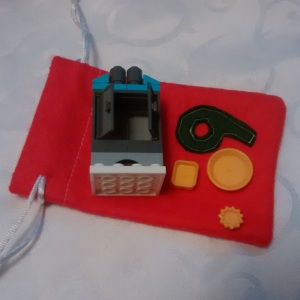
So here is our LEGO Advent Calendar, custom made and guaranteed to make a little (or a little bit bigger) person happy 🙂
Sets (although some partial) here included are 30259-1, 30116-1, 41053-1, 41006-1, 41020-1, 41021-1, 41022-1, 3061-1, 3183-1, 3930-1 and 3939-1.
If you would like a custom made built LEGO Advent Calendar, hop over to my Etsy shop and let me know – I’d love the excuse to make another one!!!
Next step – need to take some pics – as I had to fight a case that we don’t need to buy the Heartlake Grand Hotel (no matter how pretty it looks!) to enjoy playing with the same functionality. Note to self: when I grow up, I can work for LEGO 😉
After prolonged summer break I’ve returned with a vengeance 😉
My little one put an order for a snake band hat from Louise’s “Animal Hats to knit” so that still in progress.
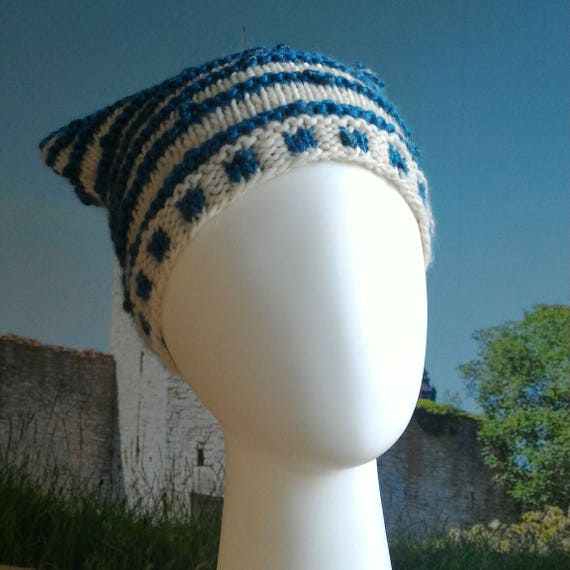
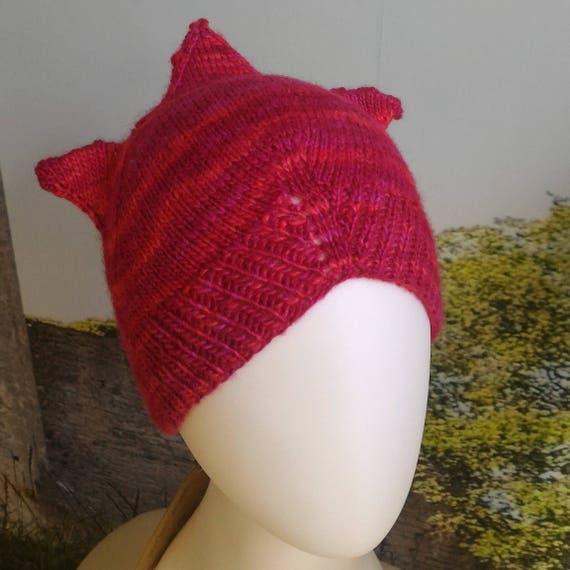
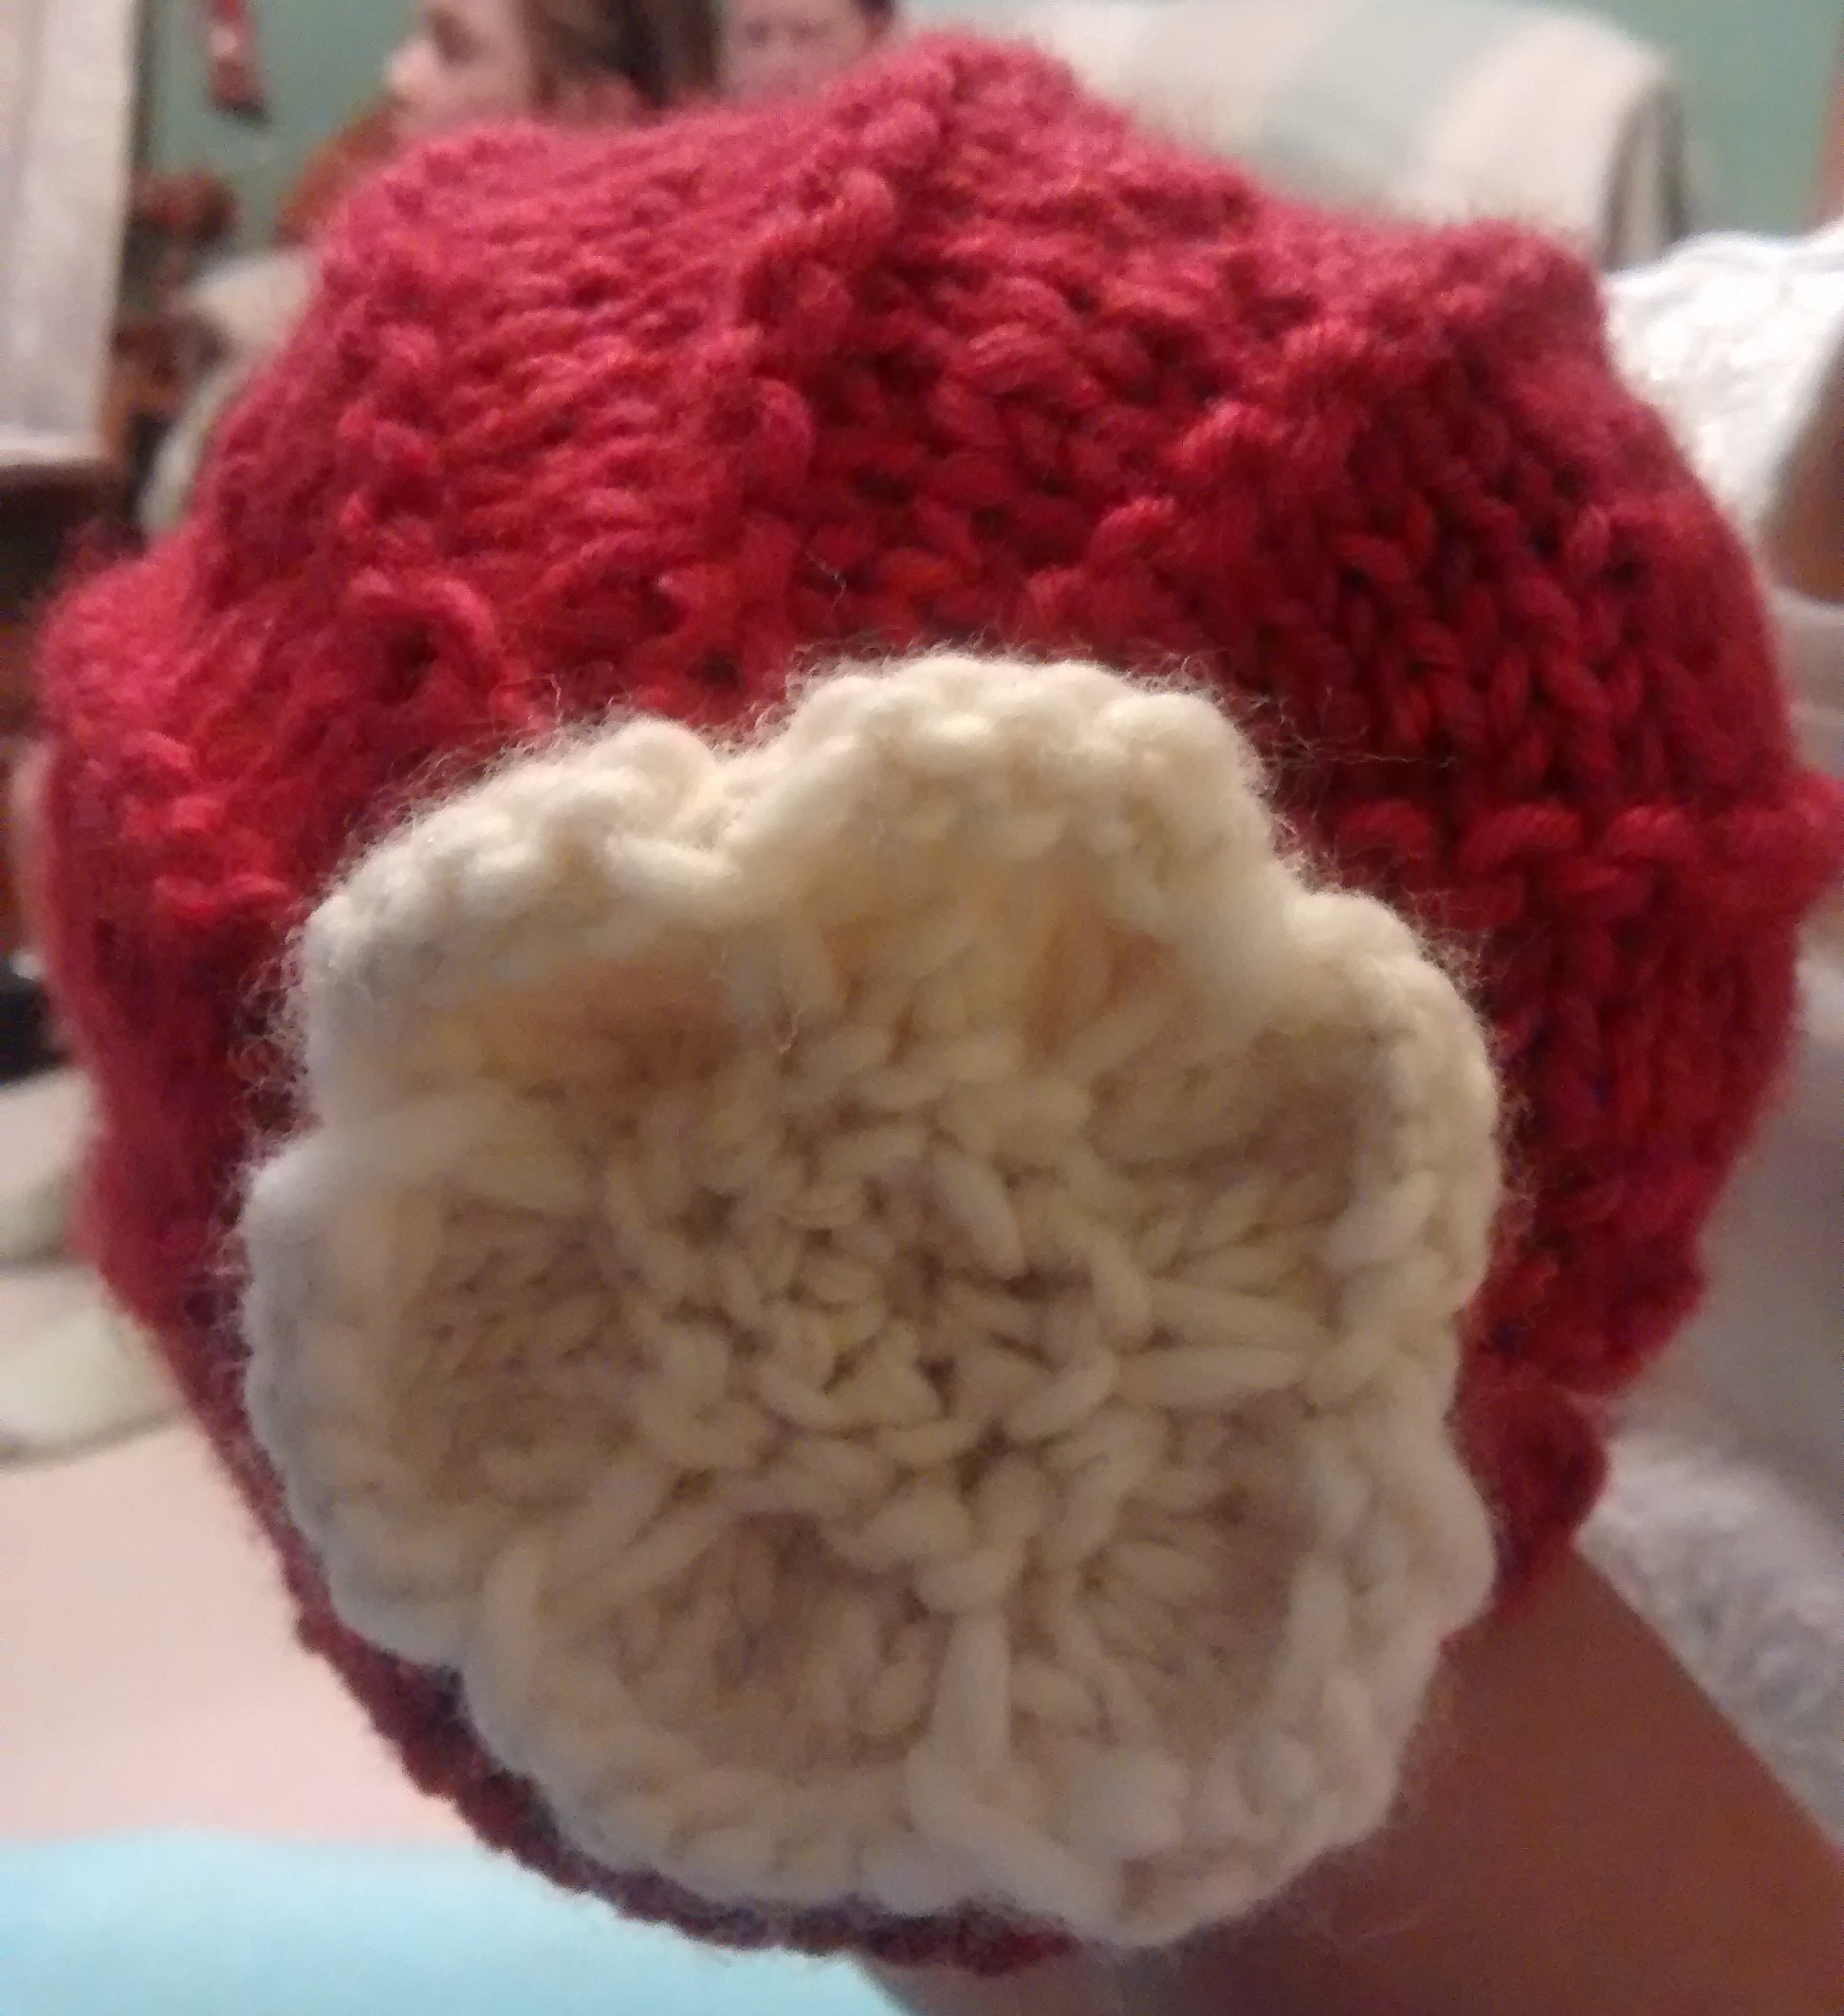
As a break during that I have really enjoyed making this cutie for a friends’ newborn:
and this one is going to be wrapped up under the tree for my niece
It gave me an opportunity to brush up on those german short rows so I’ll be doing more of similar projects. Hats are my favourite after all 🙂
Best news to end this week was an Etsy sale that really cheered me up! I don’t often sell things and my little Oscar is flying all the way to Ohio! Hope he will enjoy his new home